

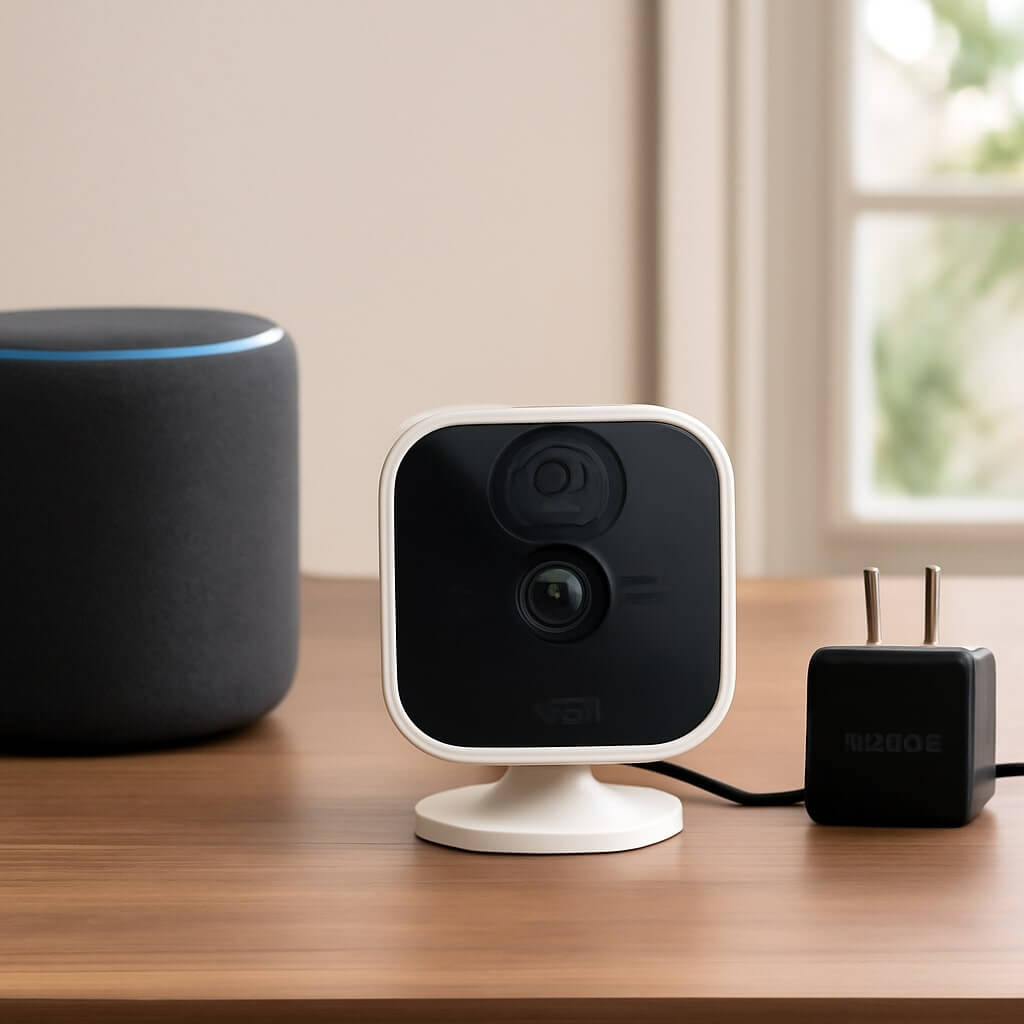
Setting up your Blink Smart Home Skill with Alexa is a straightforward process that enhances your home automation experience. First, you’ll need a Blink account and an Alexa device on the same Wi-Fi network. Once you’ve got that, enabling the skill and linking your account is simple. But what comes next? Discovering your devices and utilizing voice commands can take your smart home setup to the next level. Let’s explore how to make it all work seamlessly.
Key Takeaways
- Confirm you have a Blink account and that your Alexa device is compatible and connected to the same Wi-Fi network as your Blink cameras.
- Open the Alexa app, search for the Blink Smart Home Skill, and tap “Enable” to grant access to your Blink devices.
- Sign in with your Blink credentials to link your Blink account to Alexa, allowing for device management and notifications.
- Use the command “Alexa, discover my devices” to automatically find and control your Blink devices through voice commands.
- Customize alerts, notifications, and routines in the Alexa app to enhance the functionality and convenience of your Blink smart home system.
What You Need Before Starting

Before diving into the setup process, you’ll need a few essentials to secure a smooth experience with the Blink Smart Home Skill and Alexa.
First, confirm you have a Blink account; it’s vital to meet the blink account requirements for seamless integration.
You’ll also want to check the compatibility of your Alexa device—it should support skills and be connected to the same Wi-Fi network as your Blink system.
Finally, gather your Wi-Fi credentials and verify your Blink cameras are set up.
With these basics in place, you’re ready to enhance your smart home experience effortlessly!
Enabling the Blink Smart Home Skill
To get started with the Blink Smart Home Skill, you’ll need to activate it through your Alexa app.
Open the app and navigate to the Skills section. Search for “Blink” and select the Blink Smart Home Skill from the results. Tap on “Enable” to allow smart home integration, granting Alexa access to your Blink devices.
Open the Alexa app, find the Skills section, search for “Blink,” and enable the Blink Smart Home Skill for seamless integration.
You can also customize your experience by enabling notifications for alerts and updates. This guarantees you stay informed about your home security.
Once enabled, you’re ready to enjoy seamless control over your Blink cameras and devices directly through Alexa.
Linking Your Blink Account to Alexa
After enabling the Blink Smart Home Skill, you need to link your Blink account to Alexa for full functionality.
To start, open the Alexa app and navigate to the Skills section. Find Blink and select “Link Account.” You’ll be prompted to sign in using your Blink credentials.
This process allows for seamless account management, giving you direct access to your security features through voice commands. Once linked, you can control your cameras and monitor your home effortlessly.
Make sure you’ve granted the necessary permissions, so Alexa can assist you in managing your Blink devices effectively.
Discovering Your Blink Devices
Once you’ve linked your Blink account to Alexa, discovering your Blink devices is a straightforward process.
Just say, “Alexa, discover my devices,” and Alexa will automatically search for your compatible Blink cameras and sensors. This user integration makes managing your smart home effortless.
Verify your devices are powered and online for a successful discovery. Once found, you can easily control them through voice commands or the app.
Remember, device compatibility is key; not all Blink devices may work with Alexa. So, check compatibility if you encounter any issues during the discovery process.
Enjoy seamless control of your Blink smart home!
Setting Up Voice Commands

Now that you’ve discovered your Blink devices, it’s time to activate voice commands for a seamless experience.
You can easily customize your command preferences to suit your needs.
Let’s explore how to make your interactions with Alexa even more intuitive!
Activating Voice Commands
To activate voice commands for your Blink Smart Home system, you’ll need to link the Blink skill to your Alexa app. Once linked, you can use various voice command examples to control your devices. However, be aware of voice command limitations; not all features may be available through voice.
| Command Example | Action | Limitations |
|---|---|---|
| “Alexa, show me the front door camera.” | Displays camera feed | Must have compatible device |
| “Alexa, arm the system.” | Activates security | May require additional setup |
| “Alexa, show motion alerts.” | Provides notifications | Limited to specific alerts |
Customizing Command Preferences
Customizing command preferences for your Blink Smart Home system allows you to tailor your voice interactions with Alexa, enhancing the overall experience.
By setting up custom commands, you can improve voice recognition and make your smart home more responsive to your needs. Here are three tips to get you started:
- Create unique phrases that are easy to remember and specific to your actions, like “turn on the porch light.”
- Test the commands regularly to guarantee Alexa understands you well.
- Adjust settings in the Alexa app to refine voice recognition for better performance.
Enjoy your optimized smart home!
Viewing Live Feeds With Alexa
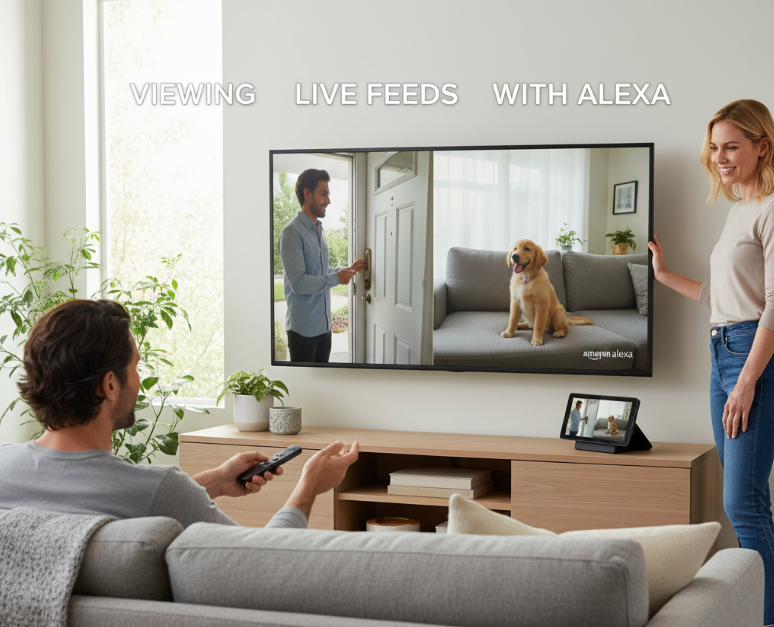
How can you effortlessly check on your home while you’re away?
With Blink and Alexa, viewing live feeds is a breeze. Simply ask Alexa to show you a specific camera, and you’ll gain instant live feed access.
You can easily switch between different camera angles, giving you a thorough view of your property.
Whether you’re in the kitchen or on the go, just a voice command connects you to your home’s security in real-time.
Stay connected to your home’s security with just a simple voice command, no matter where you are.
This feature not only keeps you informed but also provides peace of mind, knowing you can monitor your space whenever you need to.
Customizing Alerts and Notifications
Now that you’ve set up your Blink Smart Home Skill with Alexa, it’s time to customize your alerts and notifications.
You can easily adjust your alert preferences, configure the types of notifications you receive, and tweak the volume levels to suit your needs.
Let’s explore how to make your Blink experience as seamless and effective as possible.
Setting Alert Preferences
While you enjoy the peace of mind that comes with your Blink Smart Home system, setting your alert preferences guarantees you’re only notified about the events that matter most to you.
Customize your experience by adjusting the following alert types in your notification settings:
- Motion Alerts: Get notified when motion is detected in specified areas.
- Activity Zones: Define specific zones to monitor, reducing unnecessary alerts.
- Camera Status: Stay updated on your camera’s operational status, ensuring everything is functioning smoothly.
Configuring Notification Types
Having set your alert preferences, you can further refine your Blink Smart Home experience by configuring specific notification types.
Choose from various alert types to guarantee you receive the most relevant updates. For instance, you can opt for motion alerts, camera activity, or specific event notifications.
Tailor your notification preferences to fit your lifestyle, so you’re only alerted when it matters most. This customization helps reduce unnecessary distractions while keeping you informed about important happenings in your home.
With just a few adjustments, you can create a seamless and efficient smart home experience that suits your needs perfectly.
Adjusting Volume Levels
Adjusting volume levels for your Blink Smart Home alerts and notifications is essential for maintaining a comfortable environment.
You can customize your sound preferences to guarantee you never miss important alerts while avoiding unnecessary disturbances.
Here’s how to manage your volume control effectively:
- Open the Blink app: Navigate to settings to access alert preferences.
- Select notifications: Choose which alerts you want to customize.
- Adjust volume: Set your desired volume levels for each notification type.
Troubleshooting Common Issues
If you encounter issues while setting up the Blink Smart Home Skill with Alexa, don’t worry—troubleshooting is often straightforward.
First, check for common connectivity issues; verify your Wi-Fi is stable and that your devices are within range.
If Alexa isn’t recognizing your Blink devices, try renewing the connection by disabling and re-enabling the skill in the Alexa app.
Make sure your Blink camera firmware is up to date as well.
If problems persist, restarting your devices can help.
With these steps, you’ll likely resolve any device recognition problems quickly, getting you back on track with your smart home setup.
Maximizing Your Smart Home Experience

To truly maximize your smart home experience, it’s essential to explore the full range of features your Blink devices offer.
By enhancing smart home integration and utilizing voice command optimization, you can streamline your daily routines.
Here are three ways to elevate your experience:
- Customize Notifications: Tailor alerts to your preferences for smarter monitoring.
- Group Devices: Create device groups for simplified control via Alexa.
- Routine Creation: Set up routines that trigger multiple actions with a single command.
Embrace these features to enjoy a seamless and efficient smart home environment tailored just for you!
Conclusion
By following these steps, you’ve effortlessly integrated your Blink devices with Alexa, enhancing your smart home experience. With voice commands, live feeds, and customizable alerts at your fingertips, managing your home security has never been easier. Don’t forget to explore additional features and settings to optimize your setup further. Embrace the convenience of a connected home, and enjoy peace of mind with Blink and Alexa working together seamlessly!